Tutorials
Are you sewing buttons correctly? Here’s how it should be done.
May
Have you ever done something a certain way and then realize after YEARS that you were doing it wrong all along? That was me with buttons. I’ve sewn hundreds of buttons on and it never fails that they end up falling off after multiple uses. Grab your projects because after you learn the correct way to sew them, you’ll want to fix all of the ones you’ve done until now!
Note- Always sew a practice buttonhole on scrap fabric of the same kind before sewing on your garment.
Buttonholes
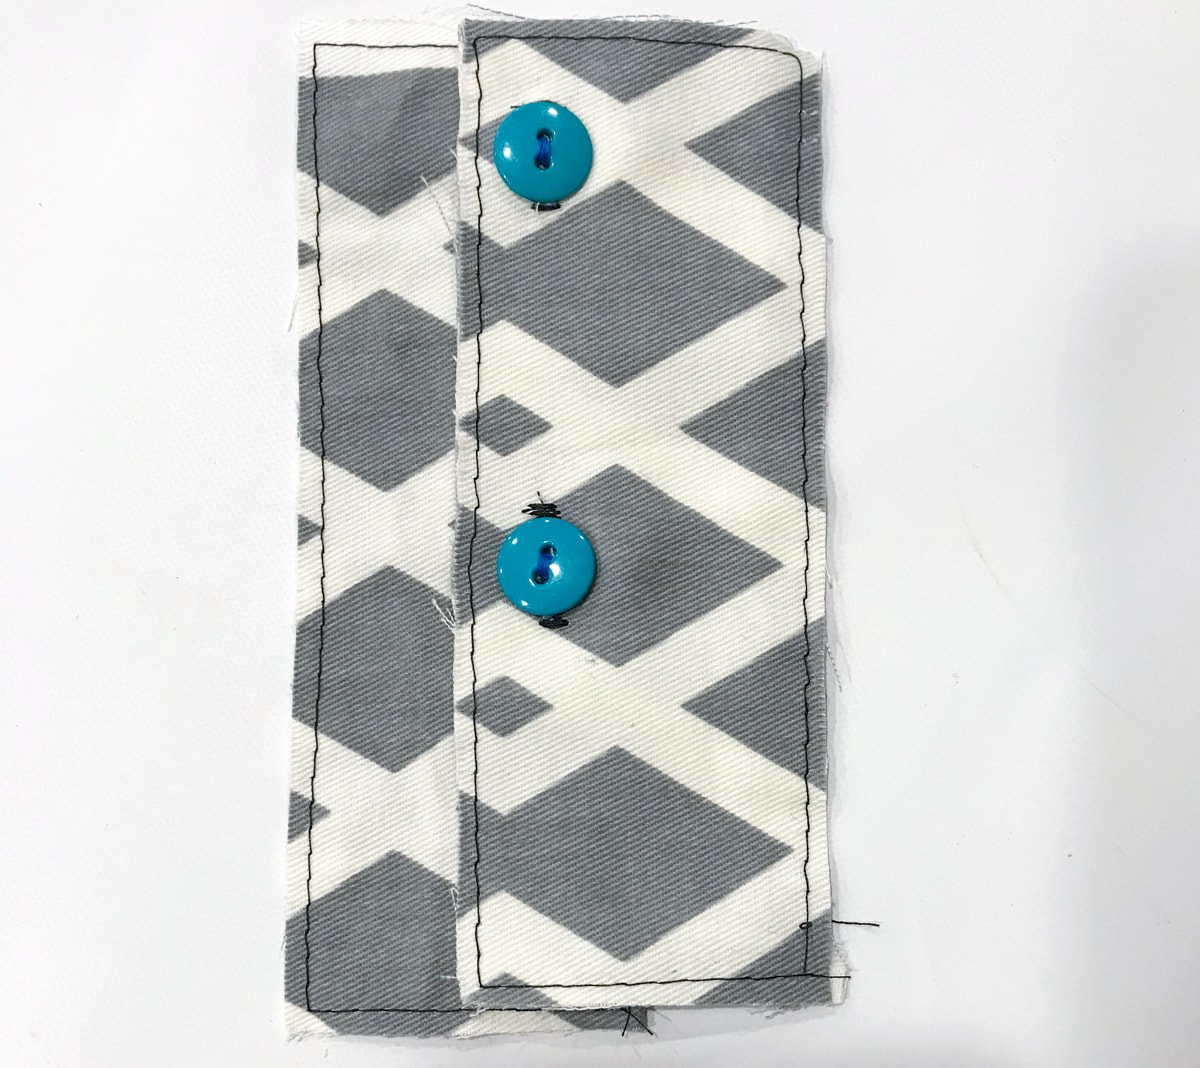
Start by transferring the button placement from the pattern piece/s to the right side of the fabric pieces. The button center should be one button’s width away from the front edge. So if you’re using a 1/2” wide button, your marks will be 1/2” from the front edge.
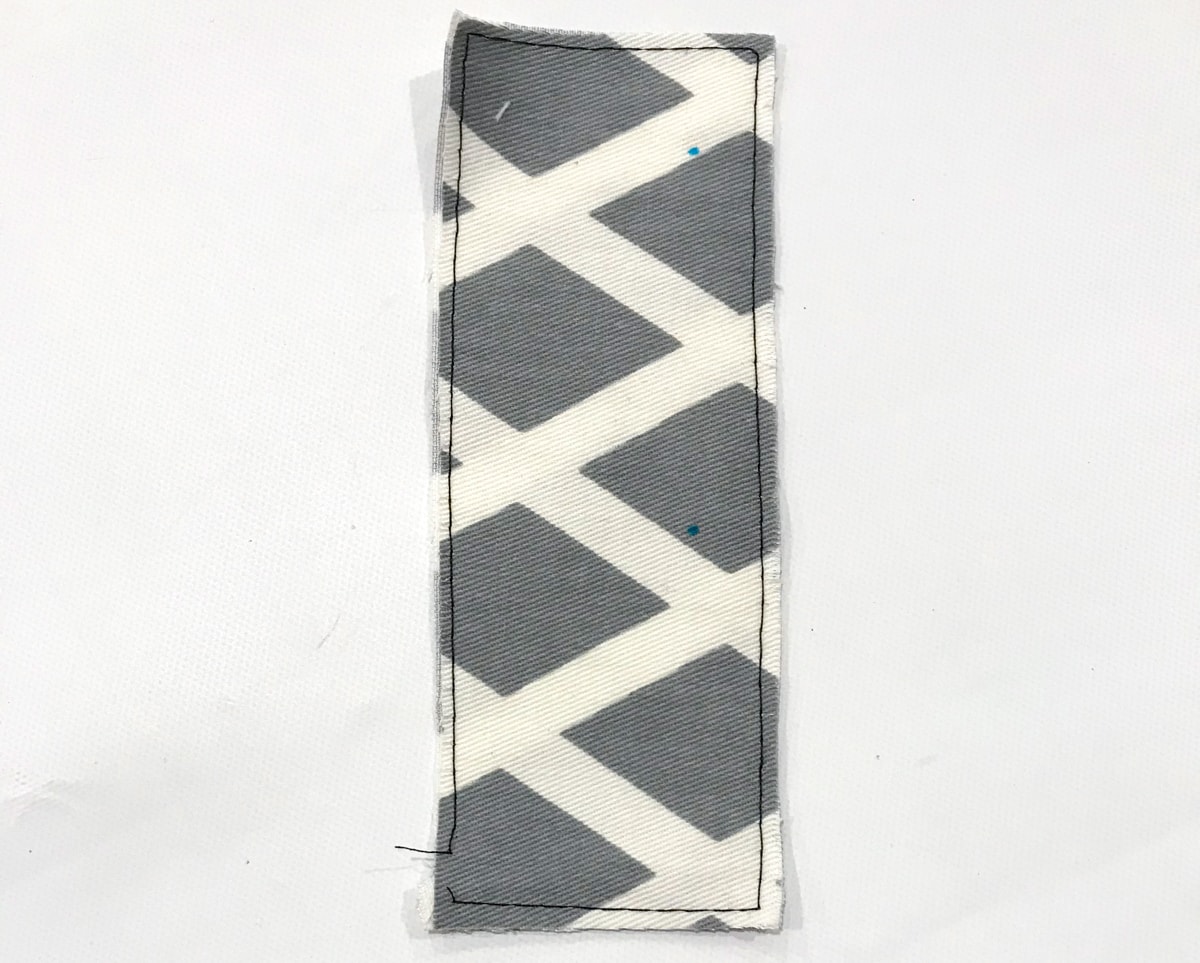
The center of the top button should be 1/4” + half a button’s width from the top edge. So if you’re using a 1” button, your button placement will be 3/4” from the top. We’re using 1/2” buttons so our top placement will be 1/2” from the top edge.
It’s important to note that the button should be half the width of the placket. If your placket is 1” wide, your button should be 1/2” in diameter.
If you’re using flat buttons (buttons without a shank), you’ll add 1/8” length to the buttonhole for ease. Our flat buttons are 1/2” diameter plus 1/8” ease and our buttonholes should be 5/8” long.
If you’re using rounded buttons, your ease will be the height of the button.
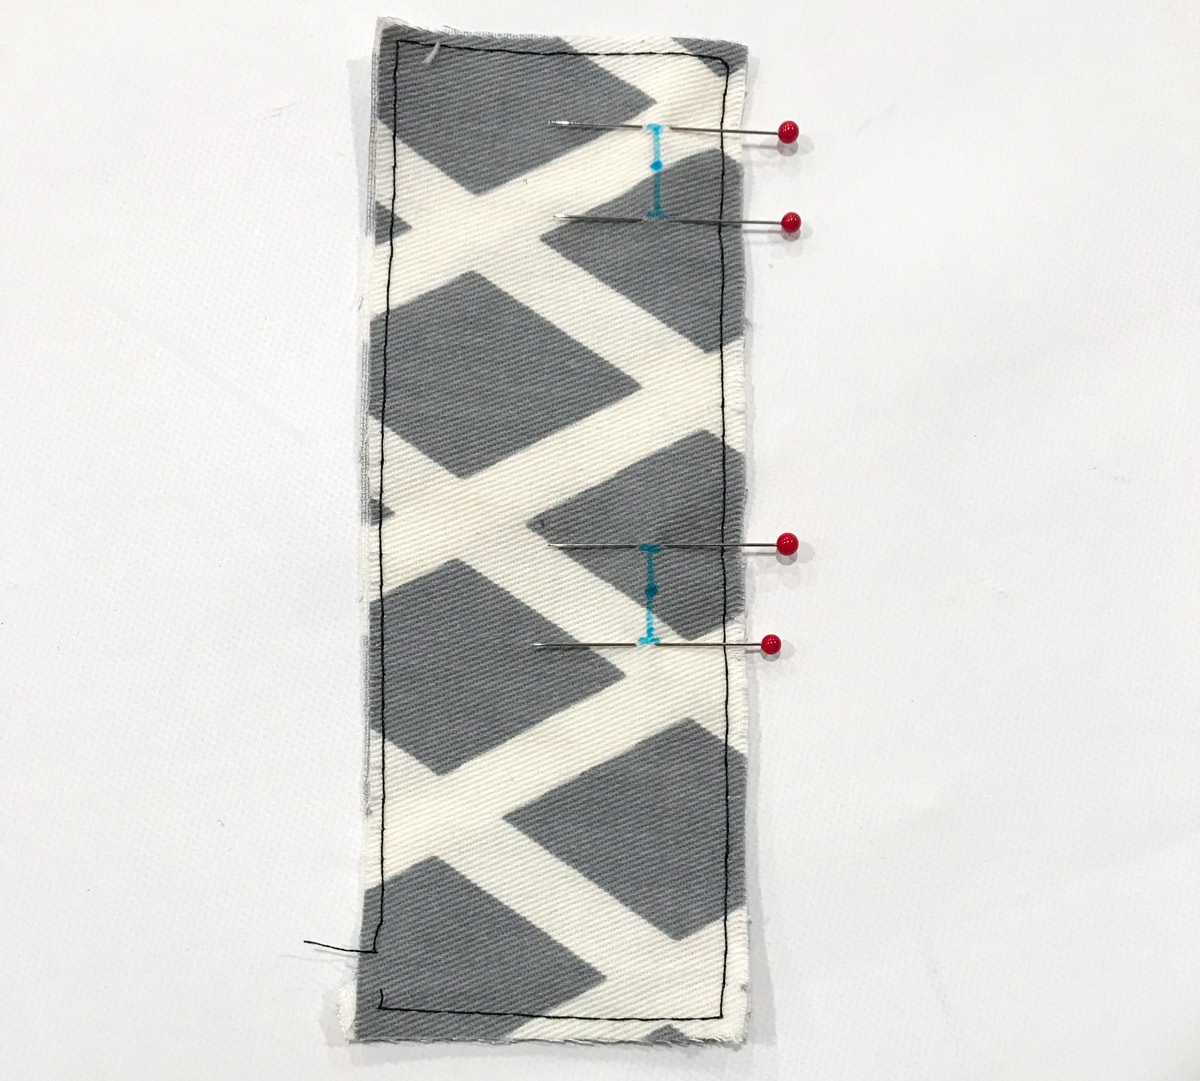
Draw a vertical line the length of your buttonhole, having the center of the line at the circle marks. Add a short horizontal line at each end to make the ends of the buttonholes more visible.
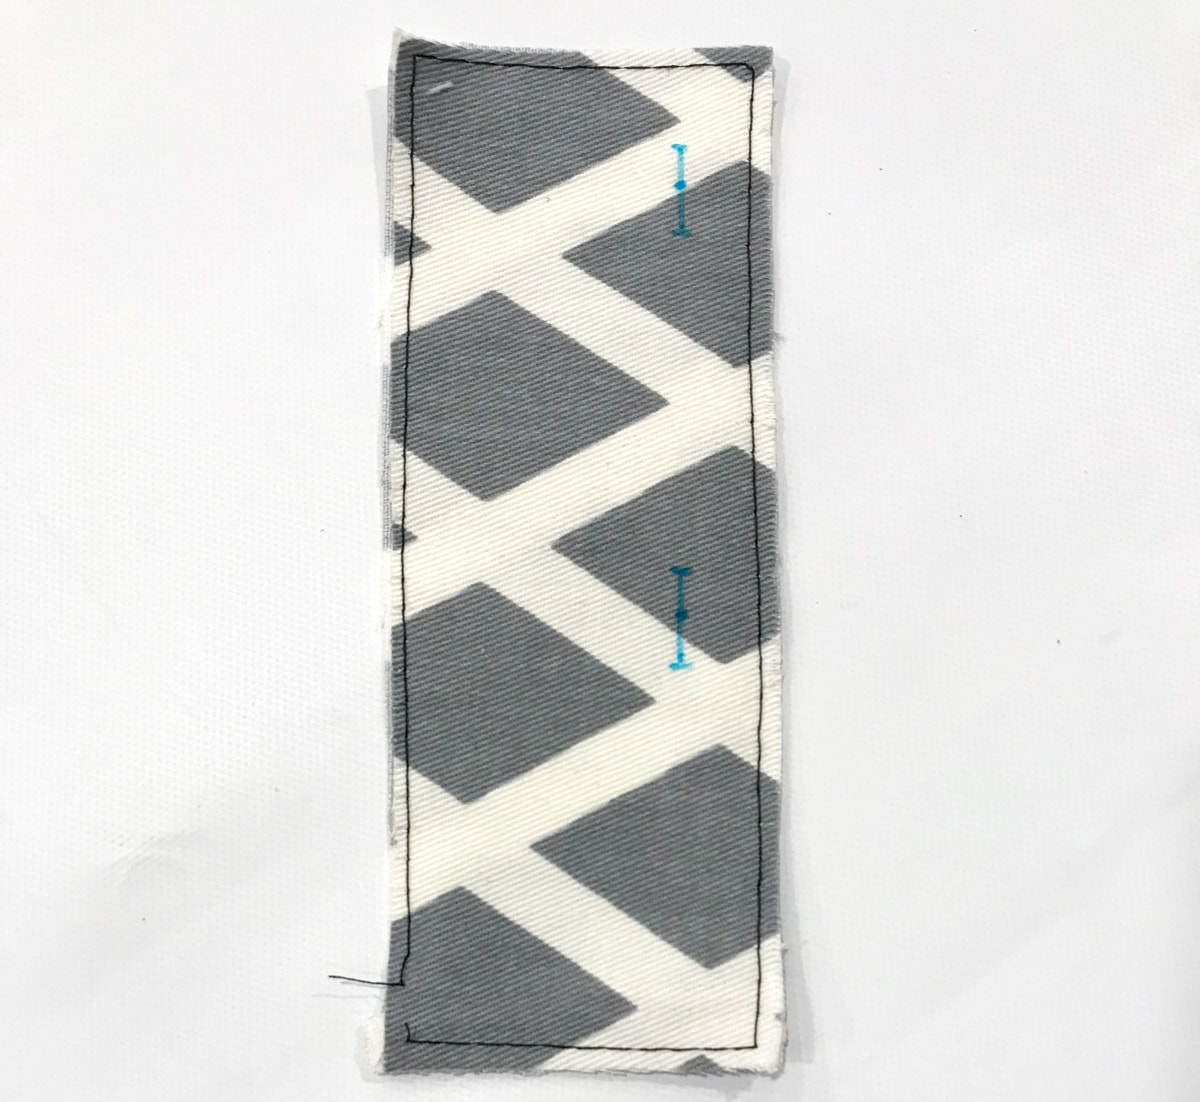
Add pins at either end of the buttonhole so you can see the start and stop points while you’re sewing.
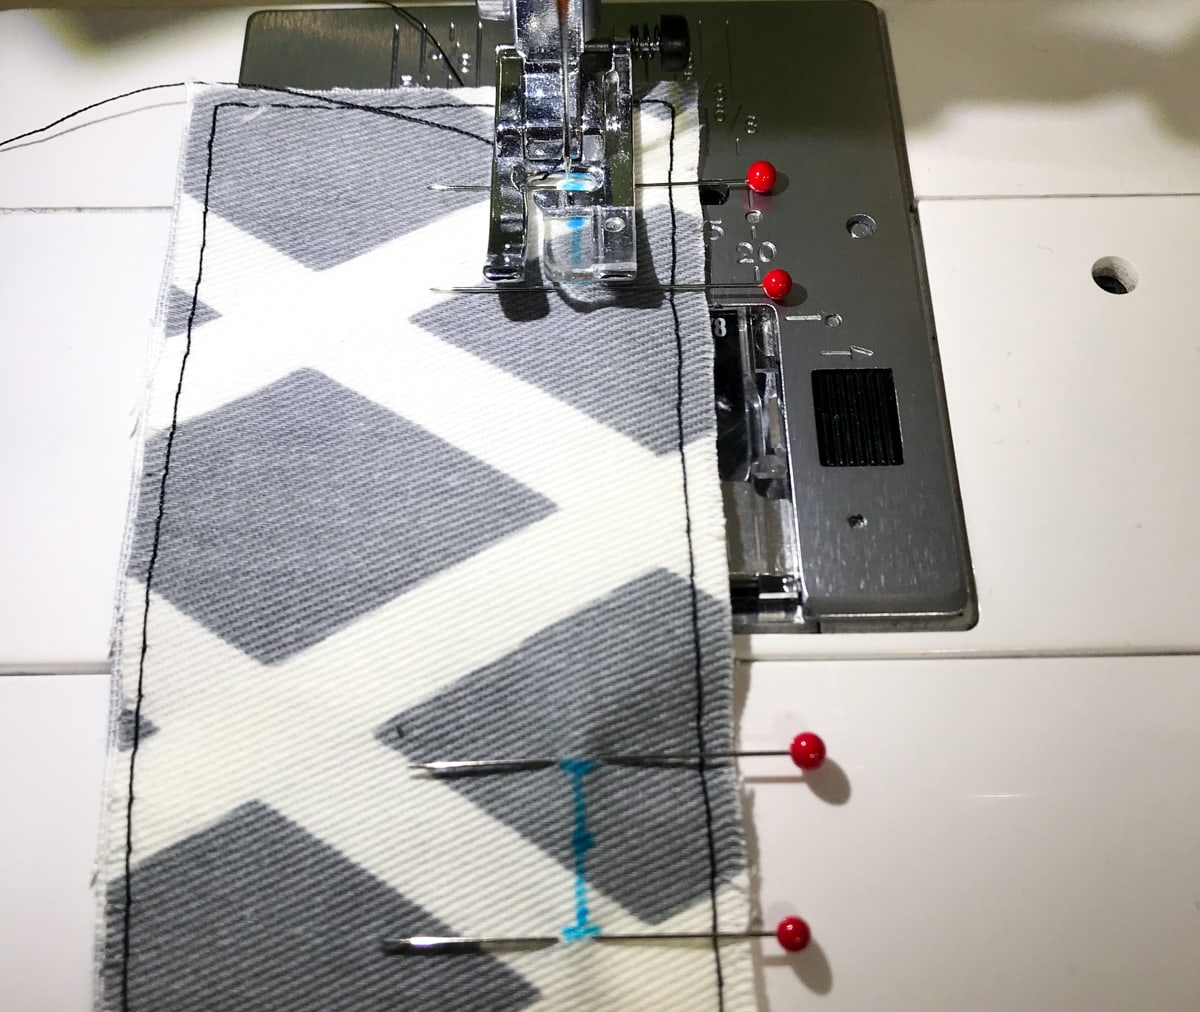
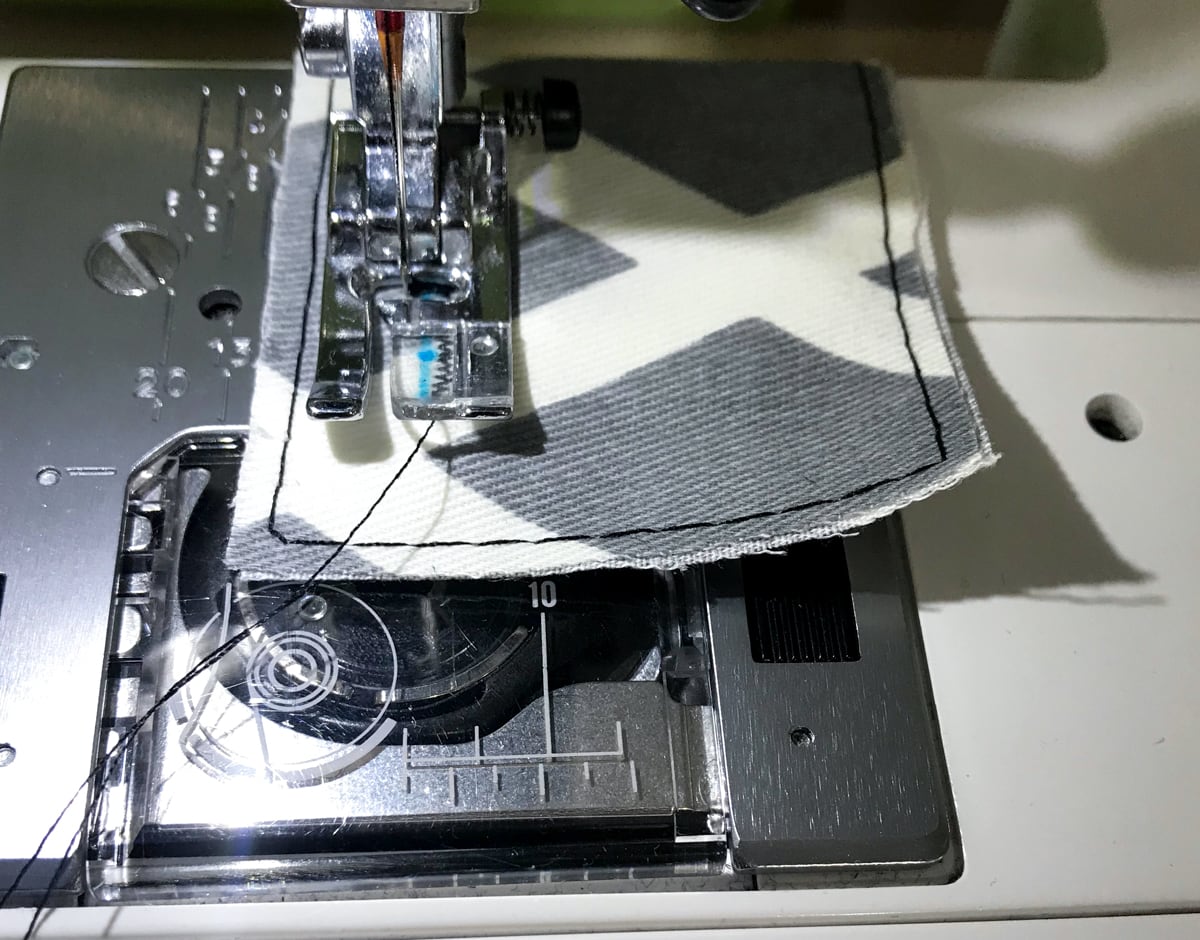
Position the fabric under your presser foot and set up your machine for a narrow, short zig-zag. My machine is set to .2 length and 1.5 width. You’ll want to test these settings out on scrap fabric before you begin. Start sewing at one pin, staying just to the left of the center line.
Stop sewing when you reach the second pin.
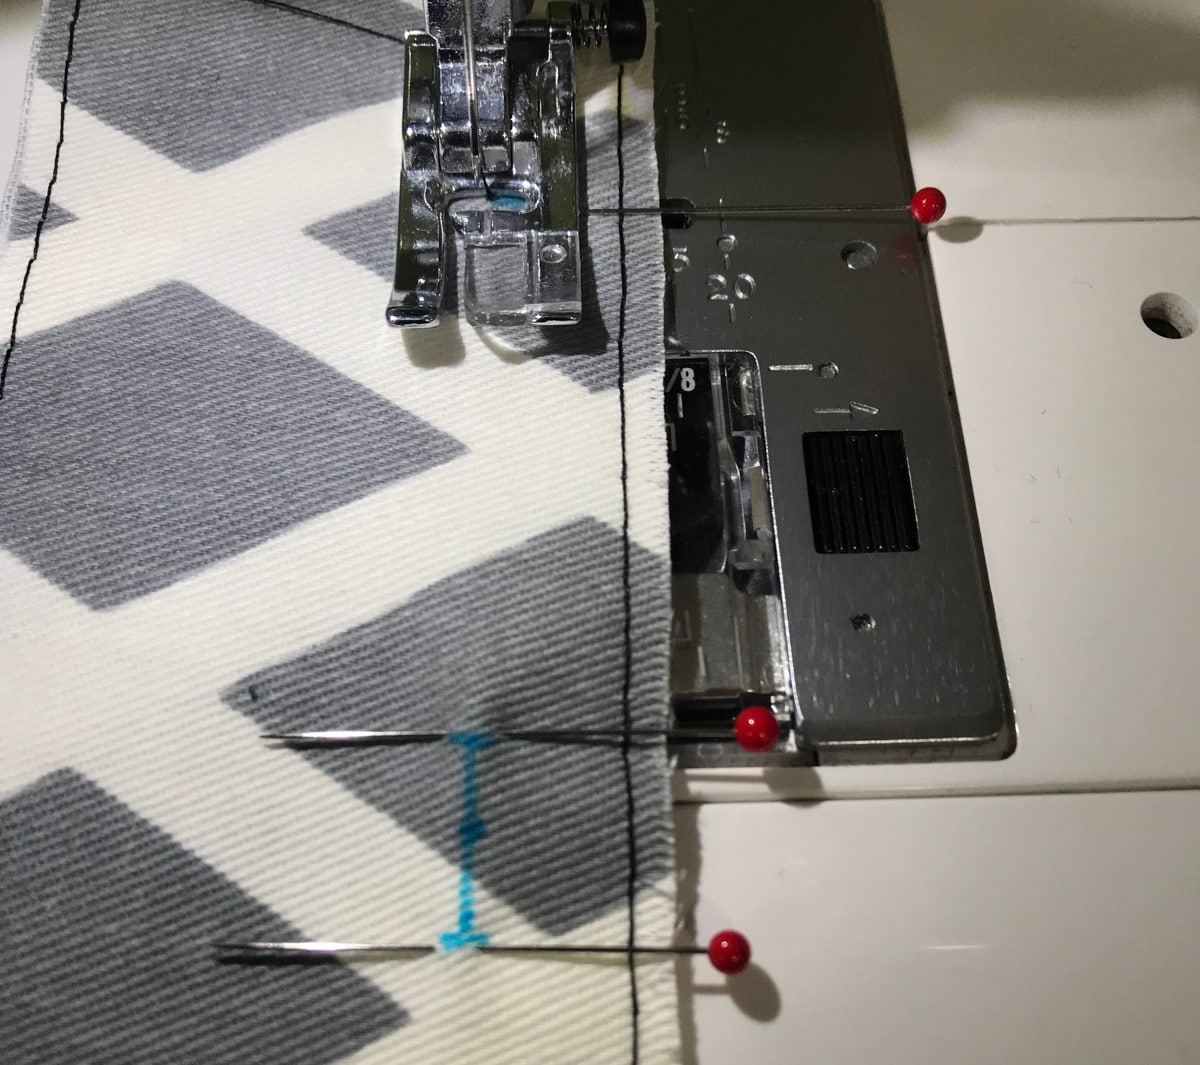
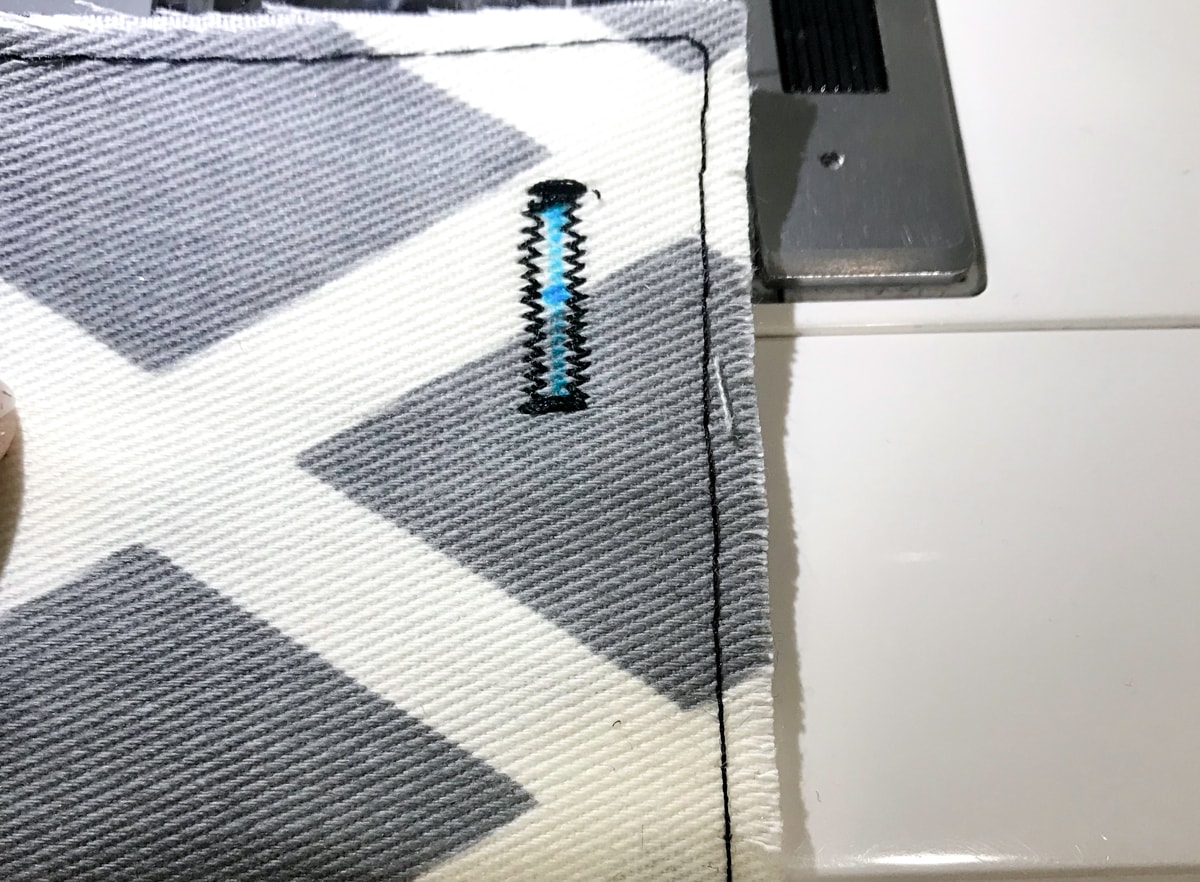
Set your machine to a wider stitch width, mine is set to 4.5 but it might need to be more narrow or more wide, depending on how far apart you space your two vertical stitch lines. Adjust your garment so the center line of the buttonhole is aligned with the center of the presser foot. Sew the end, going back and forth in place and keeping the stitch within 1/8”- 3/16” length.
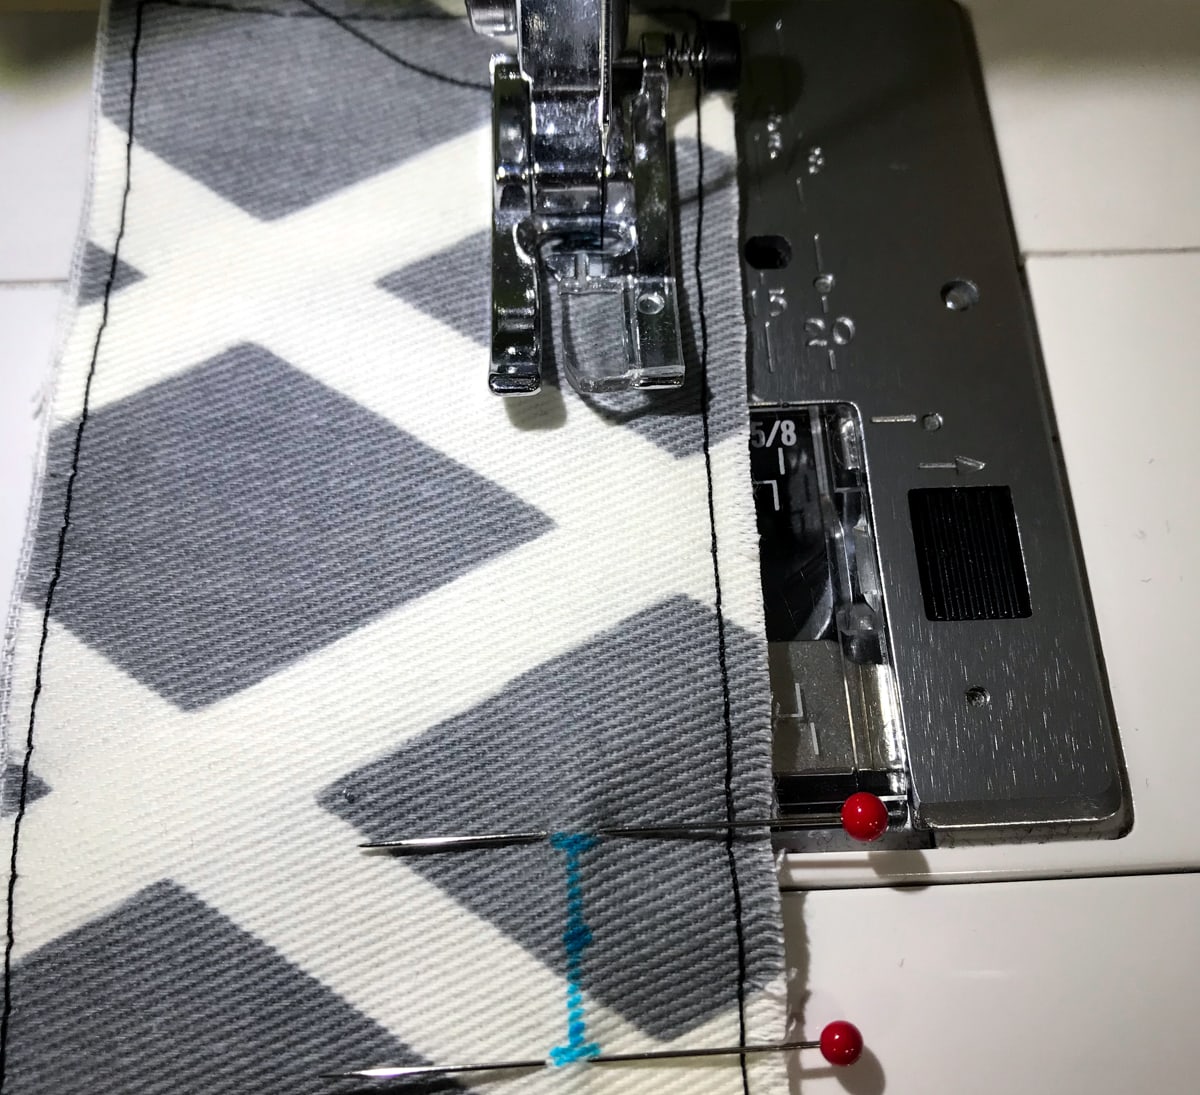
Sink the needle into the fabric. Raise the presser foot. Spin the project around so you have the side you just sewed on the right. Raise the needle and adjust the fabric so that you can sew the .2 length / 1.5 width zig zag again, just to the left of the center line. Begin sewing, making sure that the stitches do not touch the stitches on the right. Stop once you reach the end.
Sew another .2 length / 4.5 width zig zag at this end, centering it on the line and keeping the stitch within 1/8”- 3/16” length.

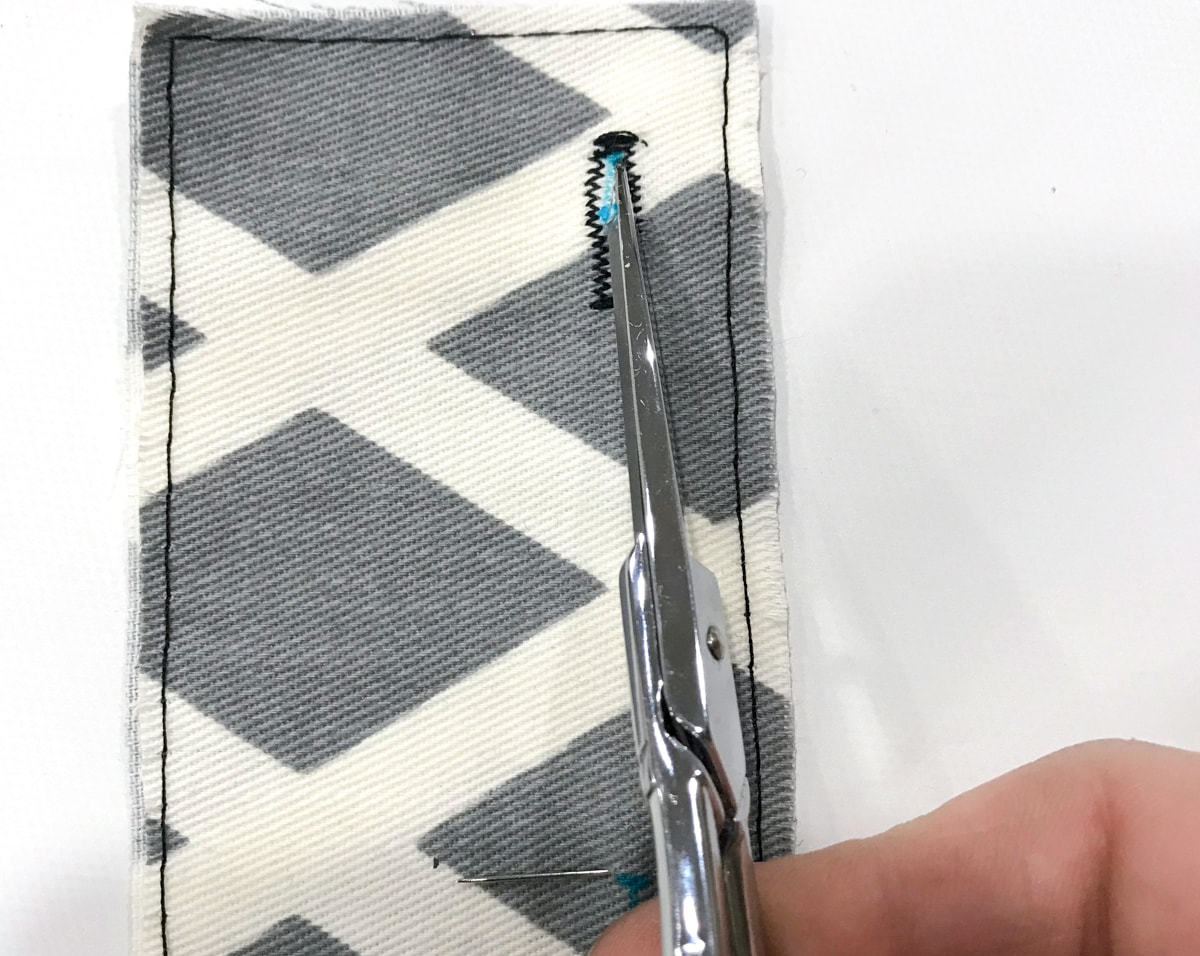
Use sharp scissors to carefully cut the buttonhole between the two vertical rows of stitching.
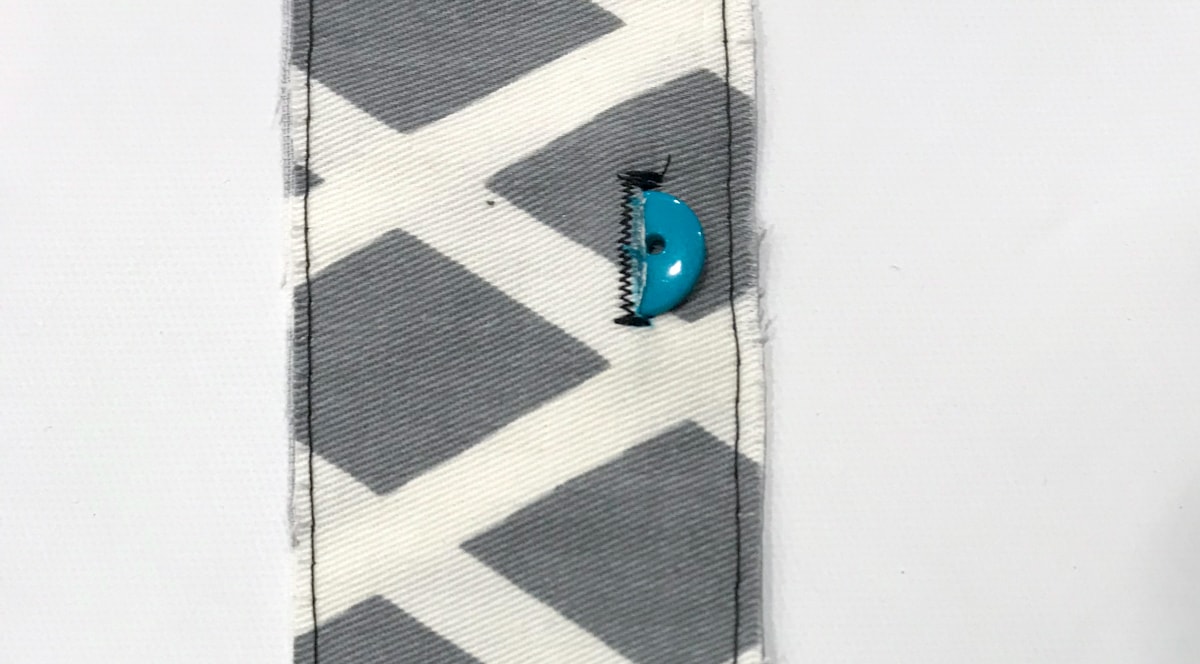
Check to see if your button fits the buttonhole.
Buttons
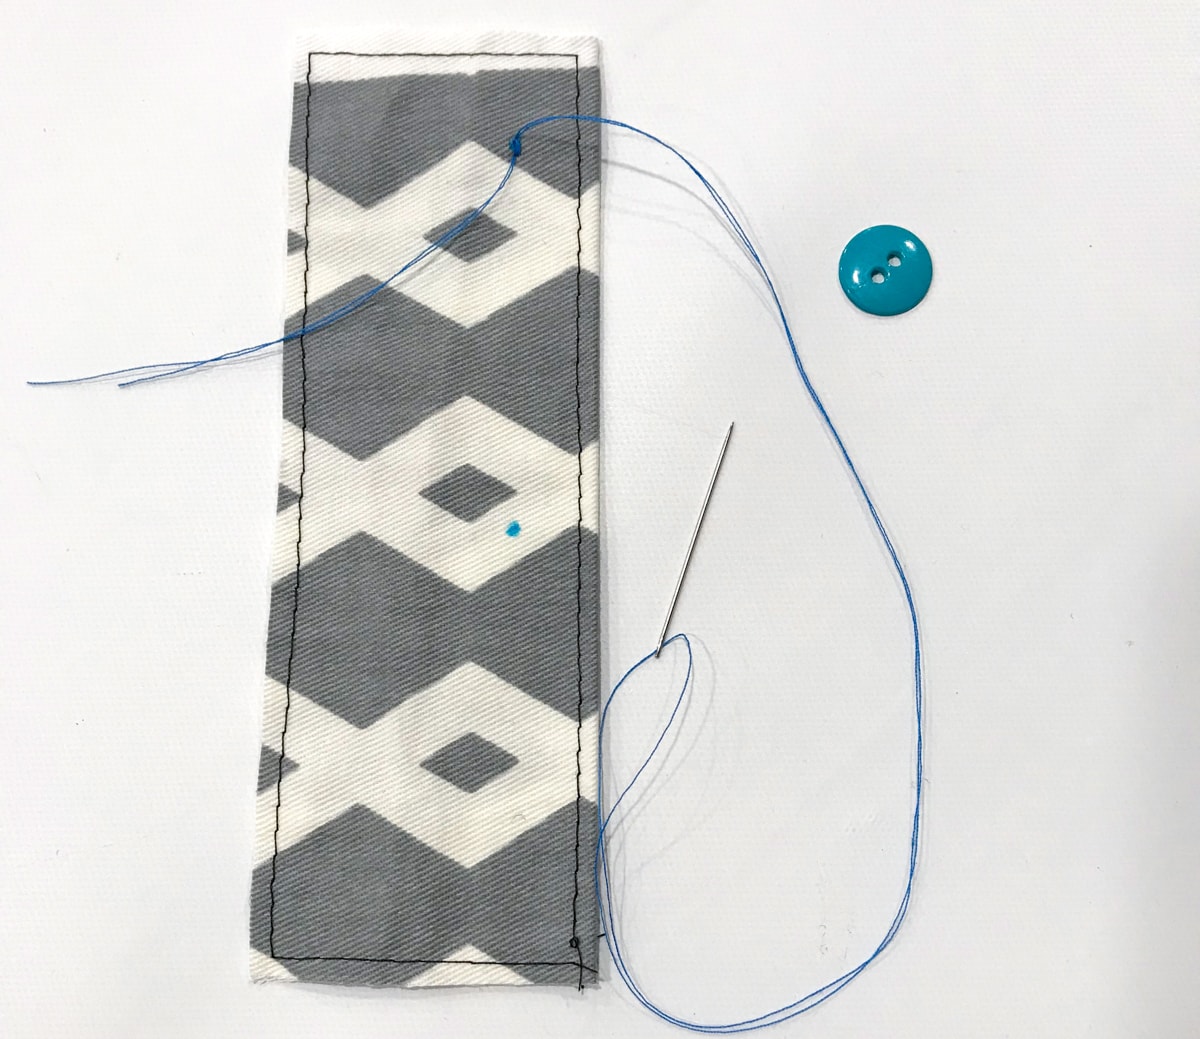
Cut a length of thread to match your button, approximately 2’-3’ in length. Thread a straight needle and pull the ends of the thread so they’re even. If you have beeswax, running your thread through it will help prevent the thread from tangling.
Starting on the right side of your fabric, insert the needle into the fabric at the top of the button placement mark. Pull the thread through, leaving the tails about 4” long. Bring the needle back up at the bottom of the button placement mark. Continue to sew around two more times, stopping with the needle and thread through the right side of the fabric.
Thread the needle through the underside of the button, out the top, then back through to the underside and attach it to the fabric.
Note- If your button has two holes, make sure that they run vertically. If your button has four holes, make sure the placement mark is centered between them.

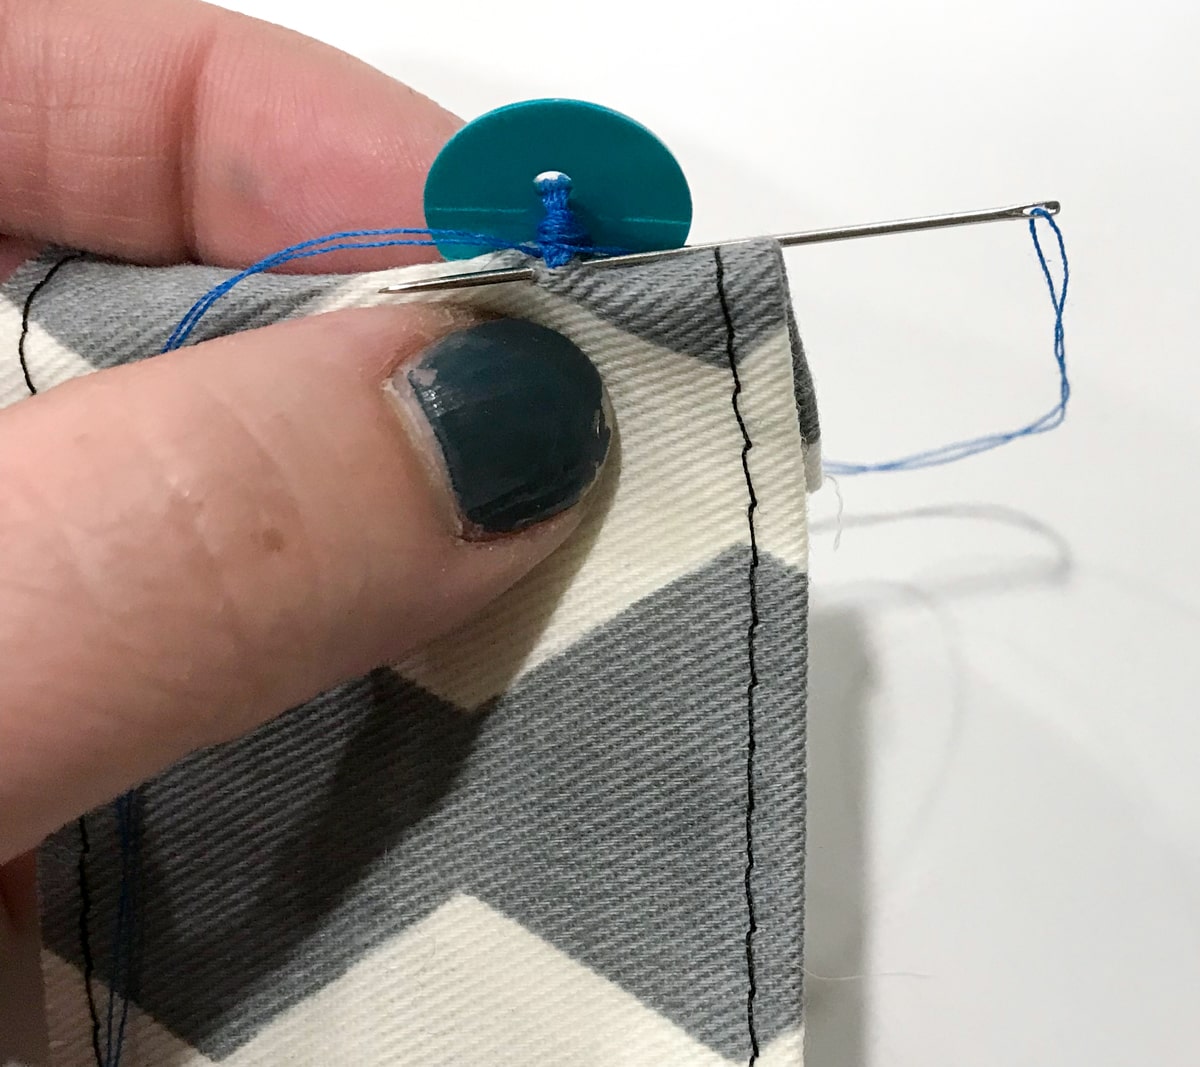
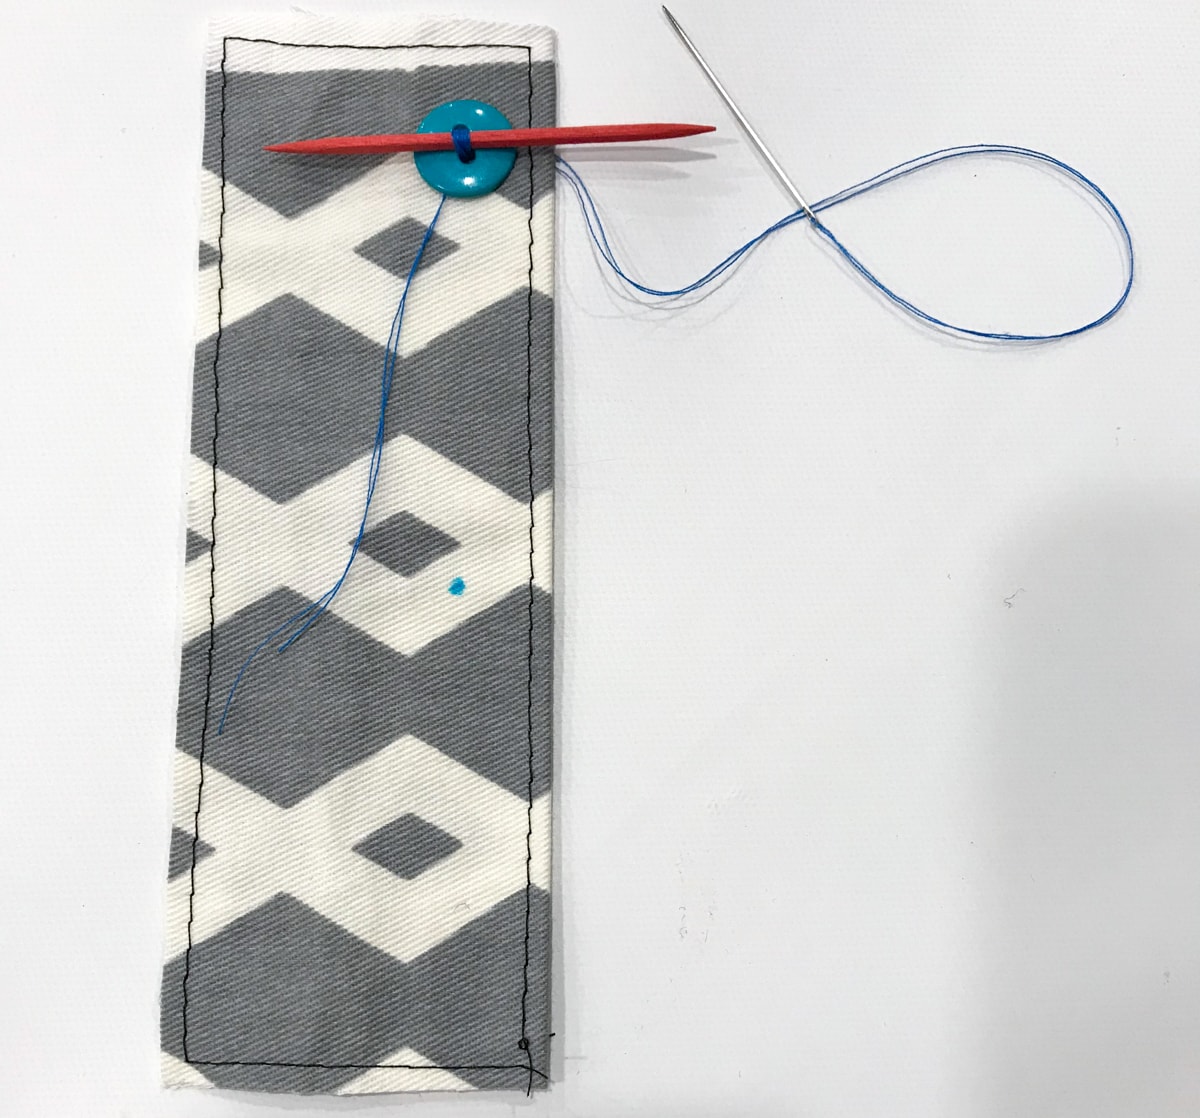
For medium to heavy weight fabrics, you’ll need a little ease between the button and fabric for the buttonhole side to fit. Add a toothpick or upholstery needle between the threads and button as shown. Continue sewing the button to the fabric 5-10 more times, more for heavier fabric or large buttons, less for lighter fabric or small buttons.
Remove the toothpick and bring the needle through to the right side of the fabric near the center of the button (but not through the button).
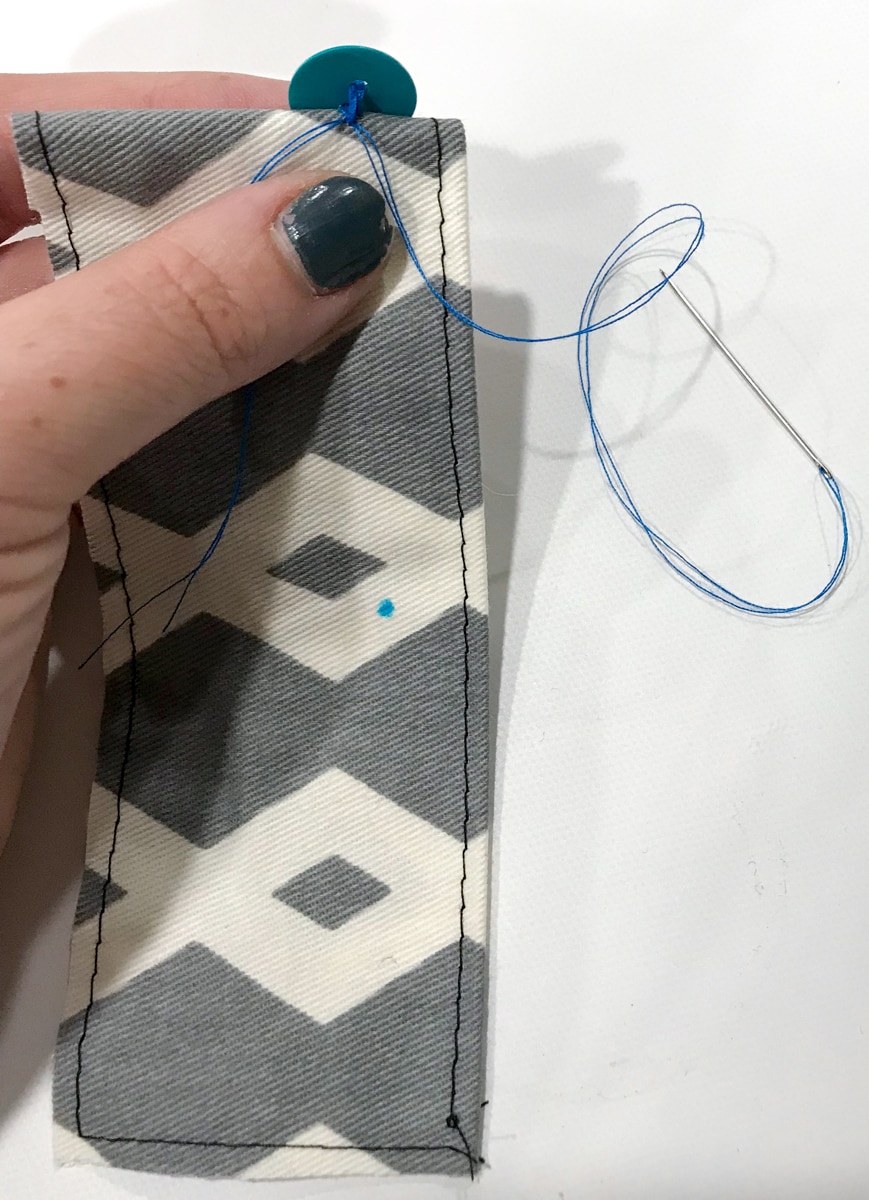
Create a rise or shank underneath the button by wrapping the thread end around the loose thread. The rise should be about the same height as your fabric is thick.

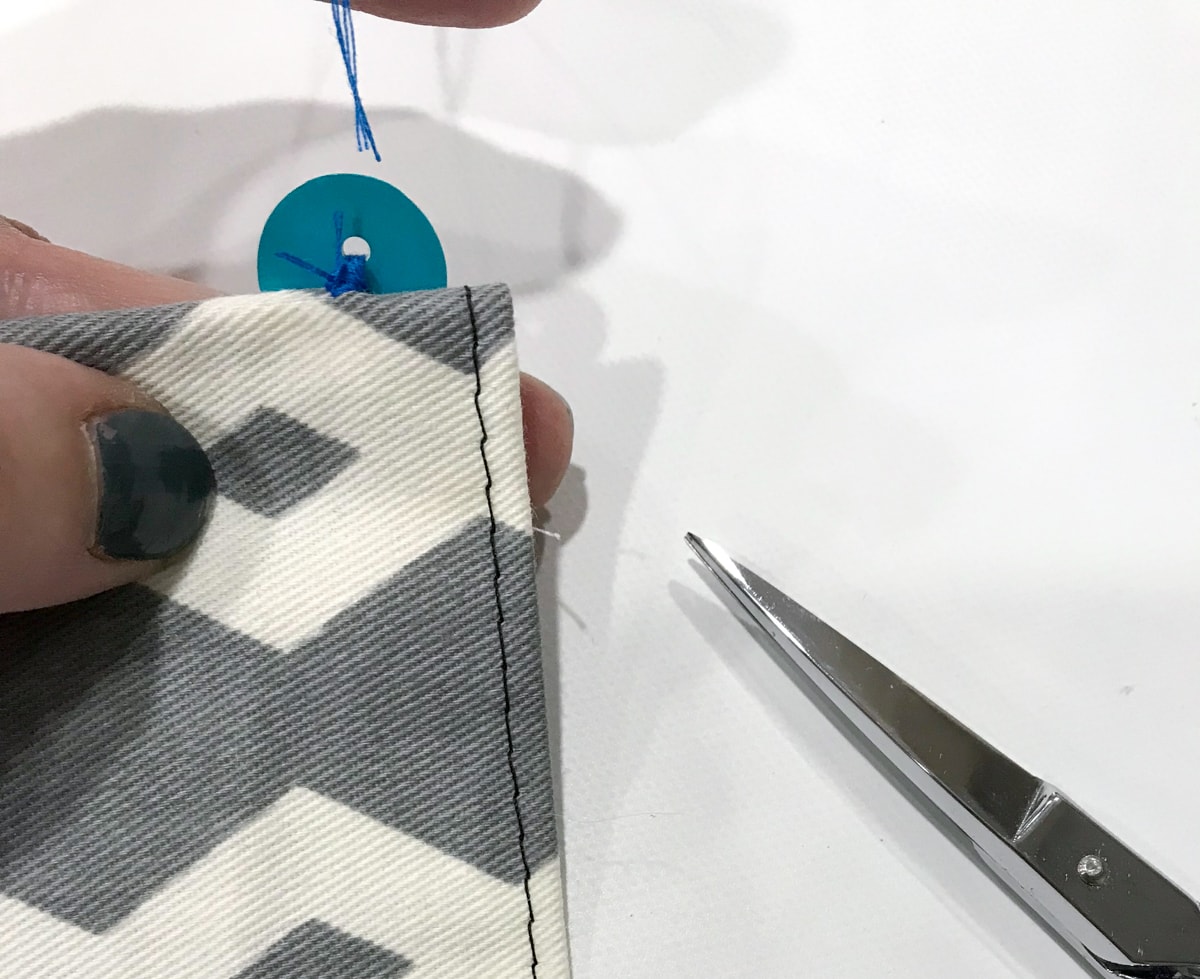
Insert your needle into the fabric at the base of the shank and sew three overhand stitches.
Tie the beginning and ending threads together.

Snip the thread tails 1/4” from the base.
All done! That wasn’t so painful, was it? I know that I’ve found my new Netflix-watching activity- much more productive than scouring Pinterest!
Happy Sewing!
Thank you for the help! What do you mean by overhand stitching?
I’m glad you found this post helpful! Just stitching in place, using an overstitch/whipstitch.
Tks for the tip!
Thank you! I’ve learned something new
Thank you! This was really helpful.