Tutorials
WendyBird with Easy Gathered Woven Skirt
Apr
I love using scraps to make a little something for my grandbaby! The Wendybird Dress reminds me of one of our favorite dresses to just pop on and go when my daughter was little. With some careful cutting, I was able to get a top for me from the solid rayon Spandex, and the bodice of the Wendybird for my first grandbaby. I had a lot of fun making this one. You can make one too!

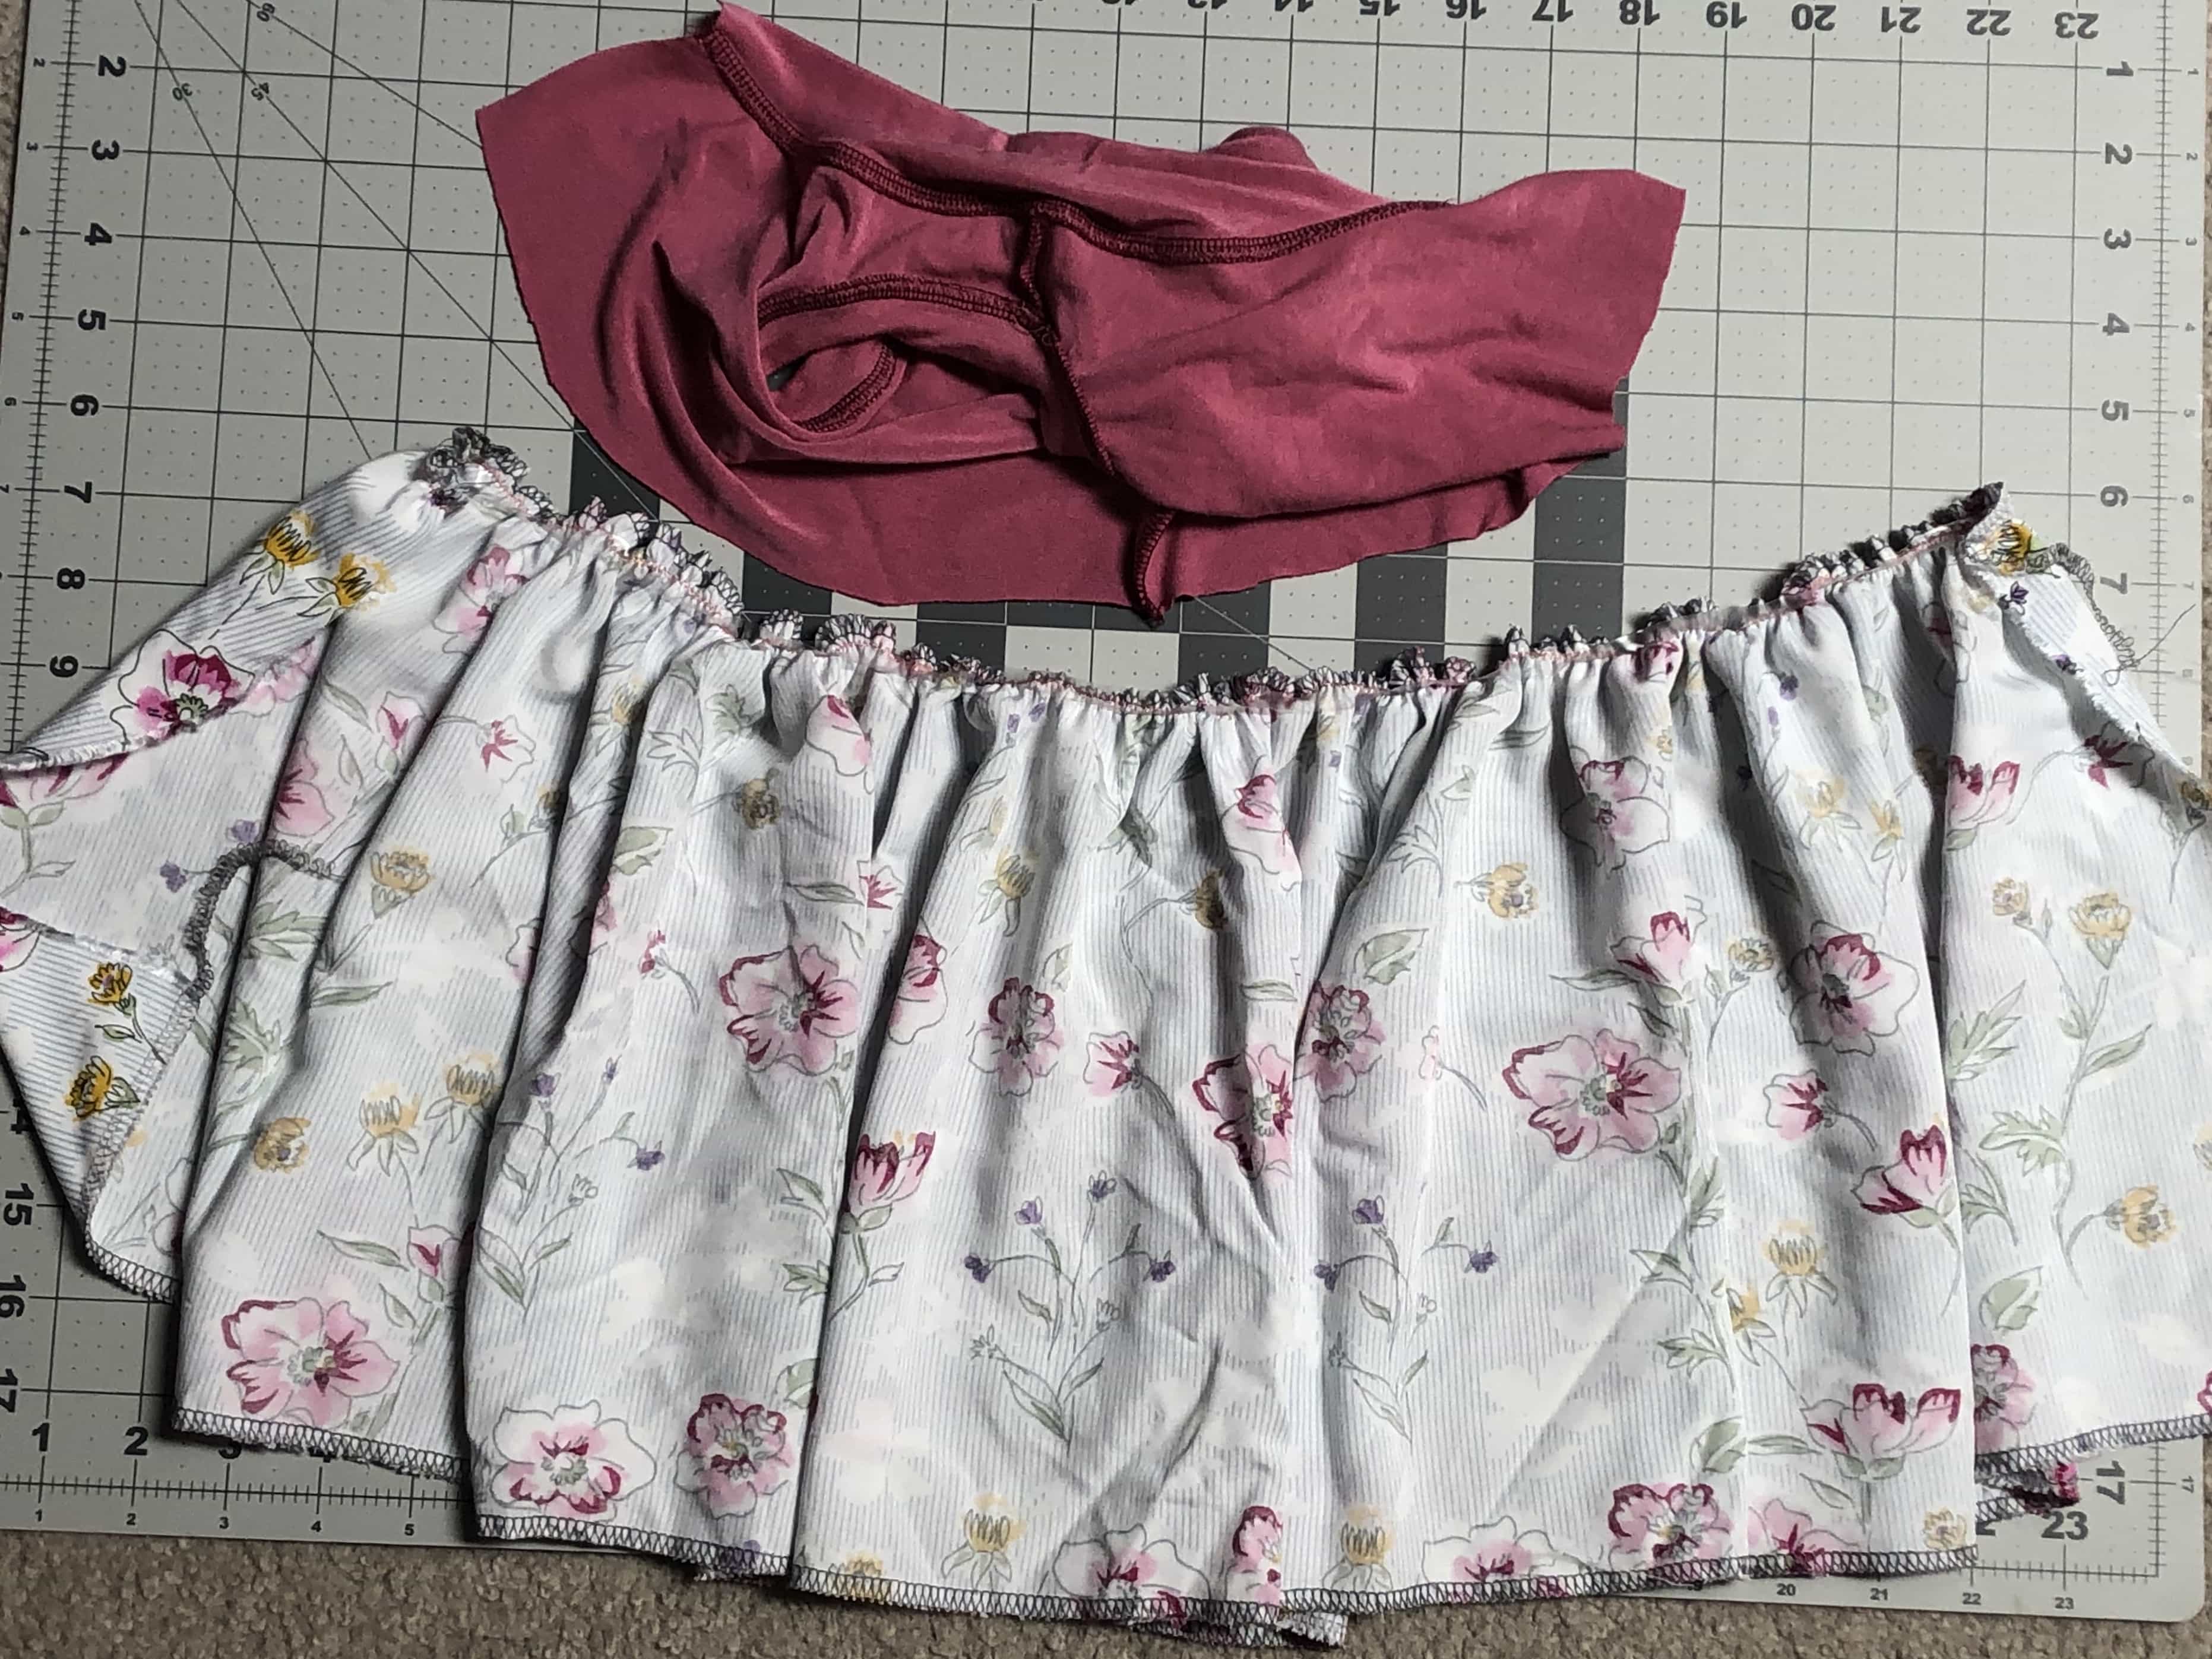
Make the bodice of the Wendybird from your knit fabric as instructed in the pattern with one difference: only sew up one side seam and leave the other open. To prepare the skirt, measure the bottom edge of the bodice. This size 12-18 months measured 20 inches.
Cut a piece of 1/4″-3/8″ wide clear elastic (braided elastic will work too but clear elastic or lastin is preferred) that is one inch shorter than the width of the bottom of the bodice since the elastic will relax a bit as it is sewn. I cut this one at about 19 inches. Use a sharpie or pen to mark the elastic in half, quarters, and eighths. For this size I straightened a scrap of woven rayon left over from the yoke of a top that I made for myself. It was 58 inches wide but a quilting cotton that is 44ish inches wide will work as well. This scrap was about 12 inches tall. You can use the skirt pattern piece as a guide for the length of your rectangular skirt. Finish both long edges with a zig zag stitch or serger and fold in half, then quarters, and then eighths and mark the eighths with pins on the top edge.

Next, align the elastic along the top of your skirt. You can use a dab of glue stick to adhere the leading edge to the skirt. Sew about a half inch without stretching the elastic. With a regular or triple zig zag stitch, stretch the elastic and align the marks with the pins. Sew the elastic to the skirt from marking to marking along the edge. Take your time here.
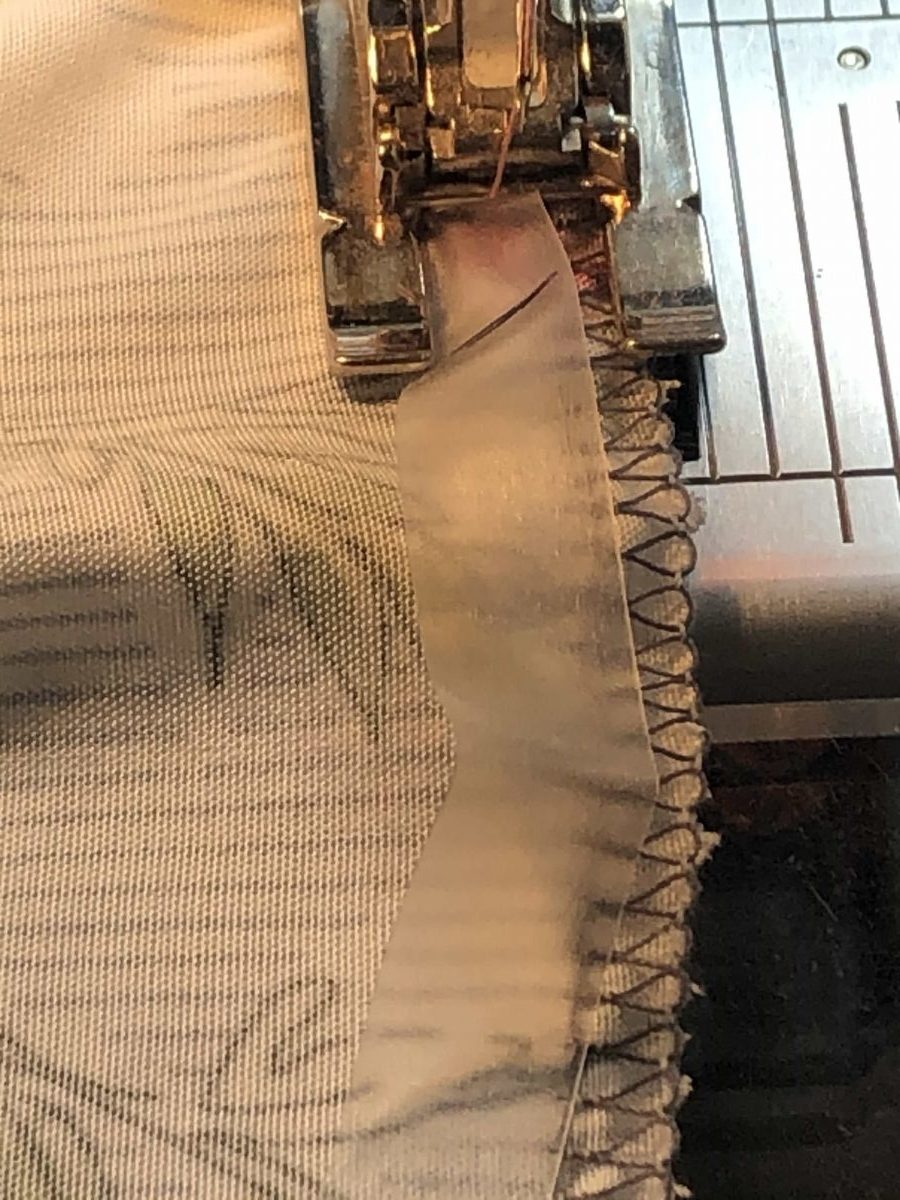
The photo below shows a section completed. Just below the needle you can see the sharpie mark that divides the sections and the elastic in a relaxed state. Next section, pull the elastic so that the next mark on the elastic meets the next pin, and zig zag that onto the skirt. When you get close to the next pin, remove it. I used to sew over pins, but have mended my ways.

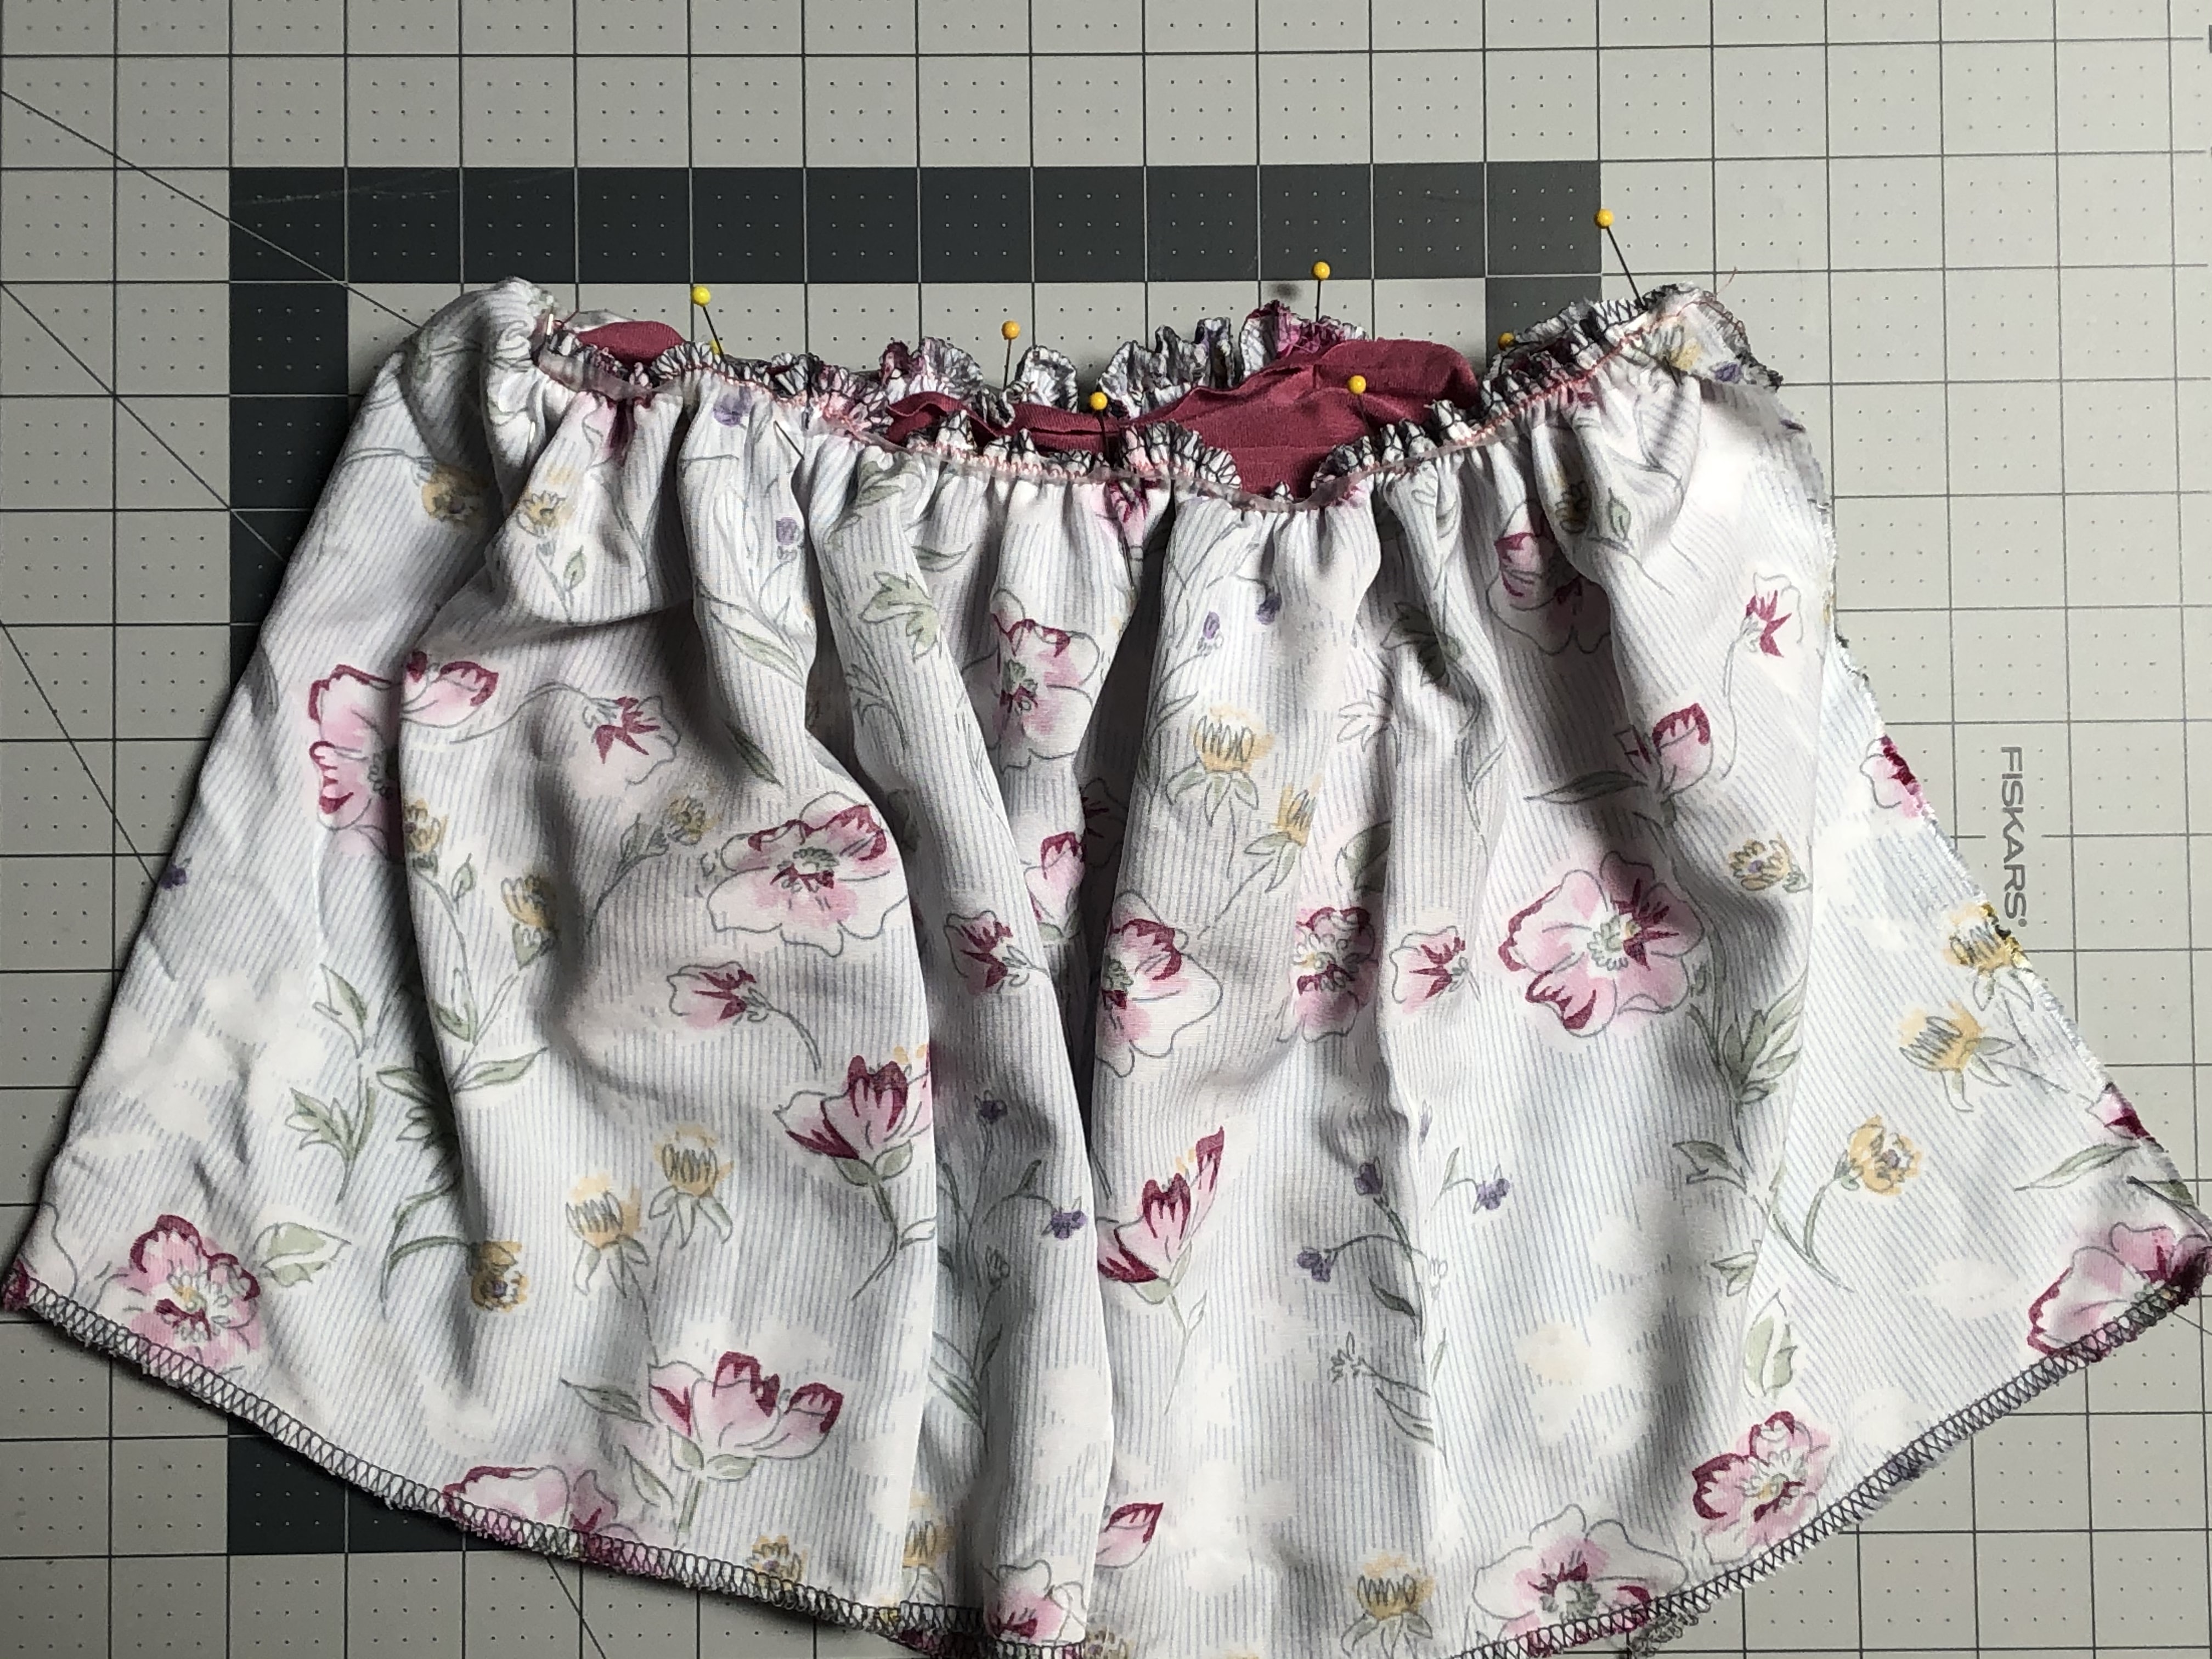
Once you have finished all of the sections, divide the bodice into eighths, making sure that two of them are at the sides, and match up those points to the eighths on your skirt with right sides together.
With the bodice pinned to the skirt, sew with a stretch stitch along the stitches that attached the elastic to the skirt. Either sew right on top of your previous stitches, or just a little bit deeper into the bodice/skirt, so your first set of stitches do not show from the outside.
I adore the look of a topstitched garment. Carefully press the seam allowance up towards the bodice and top stitch all the way round.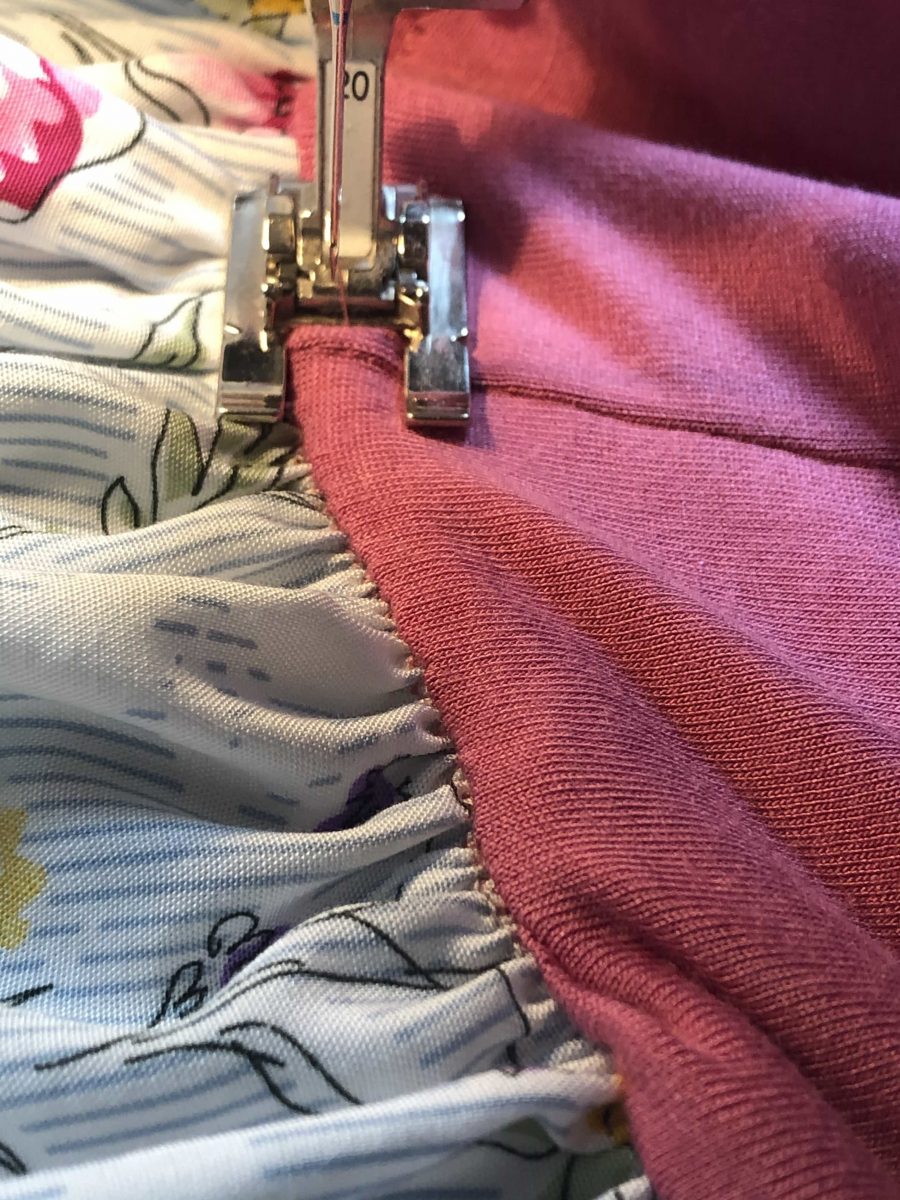
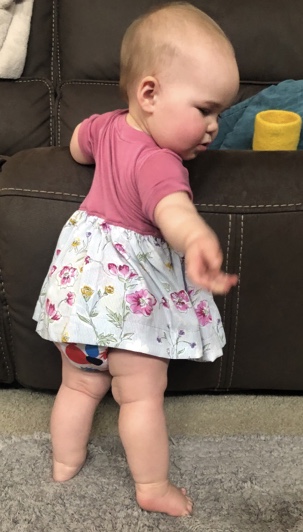
After topstitching the bodice/skirt seam, place the dress with right sides together, matching up the seam you just top stitched, and sew the side seam from the hem of the skirt up to the underarm, and down the sleeve. Hem or add a band to the remaining sleeve, and hem the skirt. I made a really nice one inch hem in this skirt and remembered that the model is not quite walking yet, so I folded up another two inches and made a second hem with a pretty long stitch length.
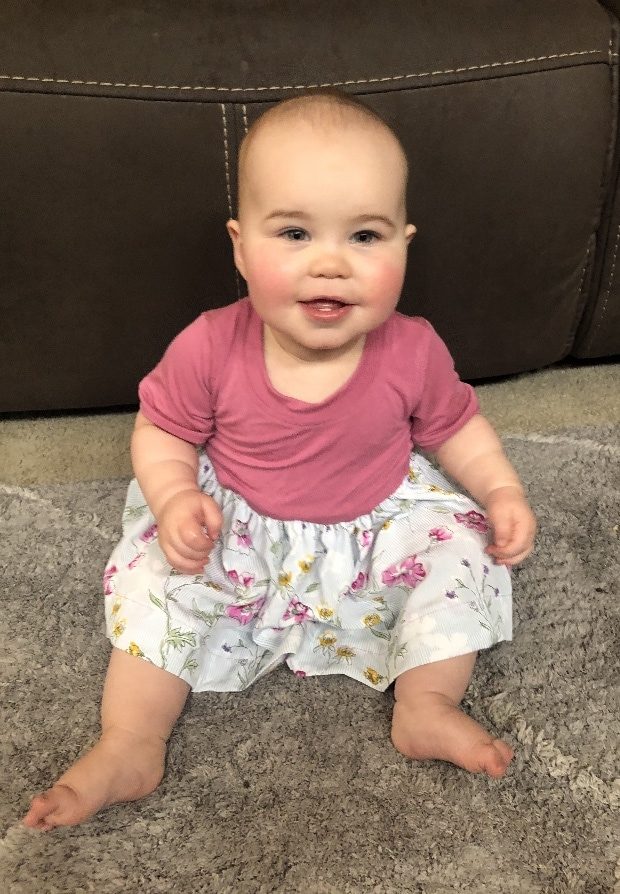
She can wear this now as a shortish skirt, and as she gets taller, and walks more than crawls, that deep hem can be removed, giving her a little more time with this dress. The rayon in the bodice is really stretchy, so as she grows it could become a tunic. I just love seeing photos of her wearing grandma-made Wendybirds! Her mom loves the pop of her cloth diaper peeking out.
Happy sewing!
Joan